
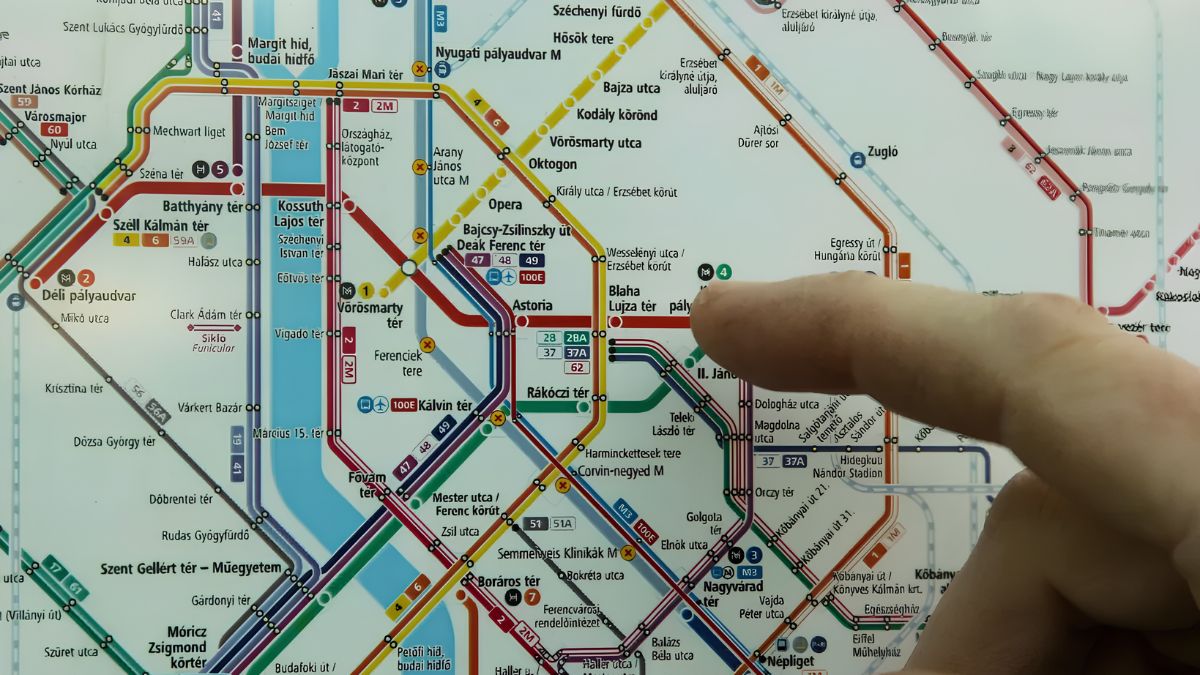
A transit map can look confusing when you first see it. Multiple colored lines overlap, stations have unfamiliar names, and symbols can make a simple journey appear more complicated than it really is. But most transit maps are designed around a few basic ideas.
Once you know the difference between a route, a station, a transfer point, and a direction, you can usually plan a journey without memorizing the entire network. The key is to stop treating the map like a road map. A transit diagram is often a simplified picture of how services connect rather than a precise representation of geography.
Start
Begin with two points: where you are starting and where you want to go.
Find your starting station or stop and your destination on the map. If both are served by the same line, your trip may be relatively simple. You only need to determine the correct direction and where to get off.
If they are on different lines, you will need at least one transfer.
Do not start by studying every line on the map. That can make the network seem more complicated than it is. Focus first on the small part of the system that connects your origin and destination.
A journey can often be reduced to three questions:
- Where do I board?
- Where do I transfer?
- Where do I get off?
Lines
Transit maps use colors, numbers, letters, or names to distinguish routes.
A red line may be one rail service, while a blue line represents another. In a bus network, routes may be identified primarily by numbers or letters.
The important point is that a line represents a service or route, not necessarily a physical road.
Follow your line visually from the starting station toward the destination. If your destination appears on the same line, you may not need to transfer.
When lines overlap, check the station labels carefully. Two services can use the same tracks or stop at the same station without being identical services.
Direction
Knowing the line is only half the task. You also need to know which direction to travel.
Transit systems commonly identify directions using the final destination or terminal station. For example, a train may be described as traveling “toward Downtown” or “toward North Station.”
Look at the stations beyond your destination and identify the terminal in that direction. Then board the service traveling toward that endpoint.
This is usually more reliable than thinking only in terms of north, south, east, or west, especially on a diagram that is not geographically accurate.
If you are unsure, check the platform display, station signage, or official journey planner before boarding.
Stops
Once you have the correct line and direction, count the stops if that helps you follow the journey.
However, do not rely entirely on counting. Service patterns can change, and some systems have express or limited-stop services that do not serve every station.
Instead, confirm your destination by its name and watch station displays as you travel.
If you are using a bus, the situation can be slightly different because stops may not appear as prominently on board. A navigation app or official transit app can be useful for tracking your location.
Transfers
A transfer means changing from one service or route to another during a journey.
On a map, a transfer point is often shown where two or more lines meet. But a visual intersection does not always mean that changing between those services is convenient.
Some transfer stations require a short walk between platforms. Others may involve elevators, stairs, corridors, or even leaving one station area and entering another.
When planning a transfer, look for the station where the lines connect, then check the official system information to understand how the transfer works.
The simplest route is not always the route with the fewest miles. A slightly longer journey with one easy transfer may be more convenient than a shorter journey involving several complicated changes.
Timing
Do not plan a transfer based only on the scheduled arrival and departure times.
If your first train is scheduled to arrive at 10:05 and your connecting bus leaves at 10:06, the connection may be technically possible but practically unreliable.
Allow time for delays, walking between platforms, finding the correct exit, and navigating an unfamiliar station.
A useful rule is to consider the entire transfer process, not just the timetable.
For example:
| Transfer Factor | What to Consider |
|---|---|
| Arrival | When your first service reaches the station |
| Walking | Time to reach the next platform |
| Waiting | Scheduled time until the next service |
| Delays | Possible disruption to the first service |
| Station layout | Stairs, elevators, corridors, or exits |
| Backup | What you can do if you miss the connection |
The appropriate buffer depends on the system and your circumstances. If you have an important appointment, flight, or event, allow more time than you would for an ordinary trip.
Symbols
Transit maps use symbols to communicate information quickly.
A circle may represent a station. A larger or differently marked circle may identify a transfer station. A wheelchair symbol can indicate accessibility facilities. A bus icon may identify a connection with bus services.
The exact symbols vary by transit authority.
Look for the map’s legend before interpreting unfamiliar symbols. The legend explains what colors, shapes, and icons mean on that particular map.
This is especially important when a map uses similar-looking marks for different types of stations.
Geography
One of the biggest mistakes beginners make is assuming that a transit map shows the city exactly as it looks in real life.
Many rail maps are schematic. Stations may be moved closer together or farther apart so that lines remain readable. Angles may also be simplified.
A station that appears close to another on the map may require a longer walk than you expect. Conversely, two stations that look far apart may actually be close geographically.
Use the transit map to understand connections and use a geographic map to understand actual distances.
That distinction becomes especially important when you are deciding whether to walk between stations.
Apps
A transit app or journey planner can complement a printed map.
A map is excellent for understanding the overall network. An app is generally better for checking current departures, service alerts, temporary closures, and the fastest available journey.
Use the map to understand the structure of your trip and the journey planner to verify the details for your travel time.
When possible, use the transit authority’s official website or app because third-party services can occasionally have outdated information.
Accessibility
If you need step-free access, do not assume that every transfer station provides it.
A station may technically be accessible but have an elevator temporarily out of service. Some systems also have different accessible entrances or require passengers to use particular platforms.
Check the transit authority’s accessibility information before traveling.
This is particularly important if you are traveling with a wheelchair, stroller, heavy luggage, or someone who has difficulty using stairs.
A route with fewer transfers may not necessarily be the easiest route if one transfer requires stairs.
Buses
Bus maps can be more difficult than rail maps because routes may not follow simple corridors.
Start by identifying the route number or name. Then check the direction and the stop where you need to board.
Pay attention to inbound and outbound terminology when the system uses it. These terms can vary depending on the city, so the destination or terminal shown on the bus may be more useful than the words “inbound” or “outbound.”
Also check whether the bus is local, express, limited-stop, or a branch of another route.
Two buses can share a route number or corridor for part of their journey and then diverge. Always confirm the destination displayed on the vehicle.
Mistakes
Most transit-map mistakes come from a few common assumptions.
One is boarding the correct line in the wrong direction. Another is assuming that every intersection represents a simple platform-to-platform transfer.
People also sometimes confuse a station with a stop. A large transit station may contain several platforms and multiple services, while a bus stop may serve only one route.
Another common mistake is choosing a route solely because it looks short on the map.
Instead, compare the number of transfers, walking distance, service frequency, and reliability.
Backup
A backup plan is useful, particularly for unfamiliar systems.
Before leaving, note the next alternative service if you miss your planned connection. Save the name of your transfer station and destination somewhere accessible.
If your phone battery is low, take a screenshot of the route or write down the key station names.
For important journeys, check service alerts shortly before departure.
If a disruption occurs, do not automatically follow your original plan. Look at the network again and identify another route to your destination.
Practice
The easiest way to become comfortable with transit maps is to practice on short journeys.
Choose a familiar starting point and destination. Find both locations on the map and trace the route without using a journey planner. Identify the line, direction, transfer station, and destination.
Then compare your plan with the official journey planner.
After doing this several times, the network begins to look less like a collection of colored lines and more like a set of connected routes.
You do not need to memorize the entire system. You only need to understand how the pieces connect.
Planning
Before starting a journey, use this checklist:
- Find your starting station or stop.
- Find your destination.
- Identify the required line or route.
- Check the correct direction.
- Find any transfer station.
- Check whether the transfer requires walking.
- Confirm departure times.
- Check service alerts.
- Allow a reasonable transfer buffer.
- Verify accessibility requirements if necessary.
- Save an alternative route for important trips.
This process takes only a few minutes once you become familiar with it.
A transit map is easier to read when you stop trying to understand everything at once. Find your starting point, trace the relevant line, identify the transfer, confirm the direction, and then check the current schedule. Use the map for the network’s structure and an official journey planner for real-time details. With a little practice, even a dense transit network becomes a series of manageable decisions rather than a confusing web of colored lines.
FAQs
How do I start reading a transit map?
Find your starting point, destination, and connecting route.
How do I know which direction to take?
Check the service’s destination or terminal station.
What is a transit transfer?
A transfer means changing from one service to another.
How much transfer time should I allow?
Allow time for walking, delays, and finding the next platform.
Are transit maps geographically accurate?
Not always. Many maps simplify distances and station locations.